|
|
 This time we'll speak about this two guys. Zoanthropes and Neurothropes are very easy and fast to paint. The zenithal phase is the most important part. After that it's just a question of OSL with the radiance of the brains (in orange). So here some of the mains steps : STEP 1: White Zenithal on a black primer. Do it well on the chitin head's parts, in this way you don't have to work on it after. STEP 2 : Hexed Lichen blend with black, and you spray it at the base of the arms and the back of the tail, and inside the "neck emplacement". STEP 3 : For the Brain, Gold Yellow everywhere on it, after spray Hot Orange (and leave the middle of brain yellow) and finish with red terracota on the edges of the brain. STEP 4 : The OSL on the body parts is made with Red terracota and Hot orange, if I need to accentuate the light I should sprayed white zenithal on the zone before using pure orange (or other colour). STEP 5 : The details, are made on the edges of the chitin by using wolf grey. Always important a thin line of black under each differents parts. And it's done.
0 Commentaires
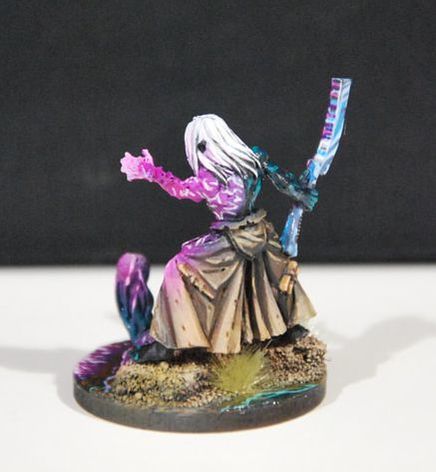
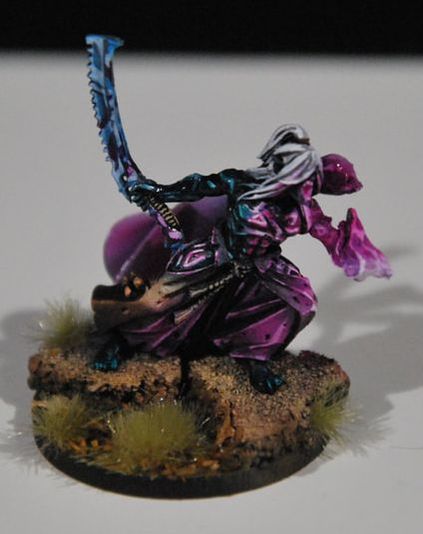
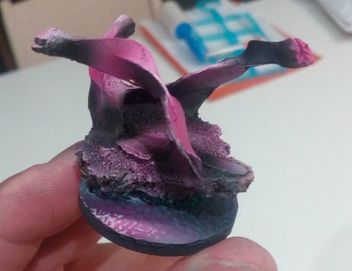
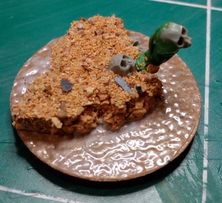
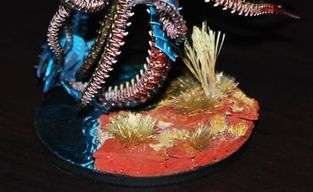
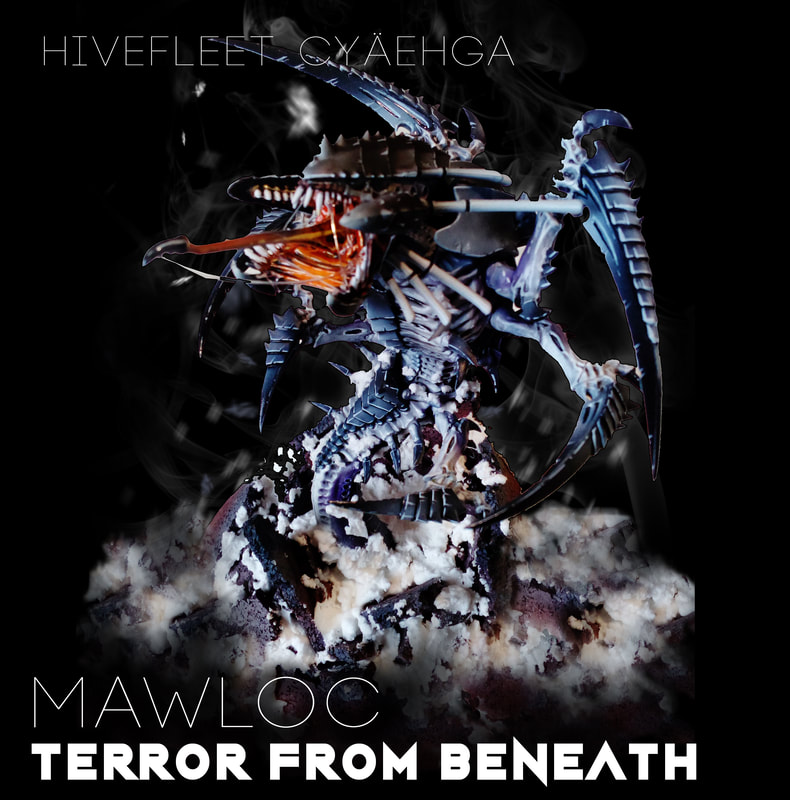 The ground is shaking, fear the Mawloc! This model has a special story, I had 2 at the release (7 or 8 years ago, I guess ...) and this one was unpainted during many years, worse, i considered it like a big bits reserve for cool claws and other stuff. After a while it was totally doomed, unplayable, unpaint, and destroy. The last action who condamned it was the moment i tried to melt his lower body tail to give it another style than the first. A complete fail... And this short story take us to last year, the moment i decided to had a new colour scheme for my tyranid army. I tried many things on it, but the main fact was to had a easy scheme colours et with less flashy colours. (Tyranids have often a problem with that!) So, the process is the approximatevely the same than for my Tyrannofex, but with less experience with my airbrush. For real it was the true first used of my airbrush with a "good" comprehension of my pressure and use of the thinner. Quickly : STEP 1 - Black cover STEP 2 - Zenithal with white on the edges of the chitin and everywhere on the flesh. STEP 3 - Some Hexed Lichen on the flesh under the chitin. STEP 4 - Adding contrast with Hexed Lichen blend with black. STEP 5 - Nuln oil on the flesh. STEP 7 - Re blacked the chitin and the claws STEP 6 - Lighting with Wolf grey on the edges. STEP 7 - Use of orange for the mouth. STEP 8 - Use of glossy varnish on the claws, eyes and mouth. STEP 9 - Adding snow (bicarbonat and PVA ) on the body, to give the impression he is poping from the ground. STEP 10 - The base, massive use of shredded cork sheets, and bicarbonate with PVA. STEP 11 - Adding some little things like leafs, seeds, sand... And now the pictures (sorry i don't have work in progress pictures) 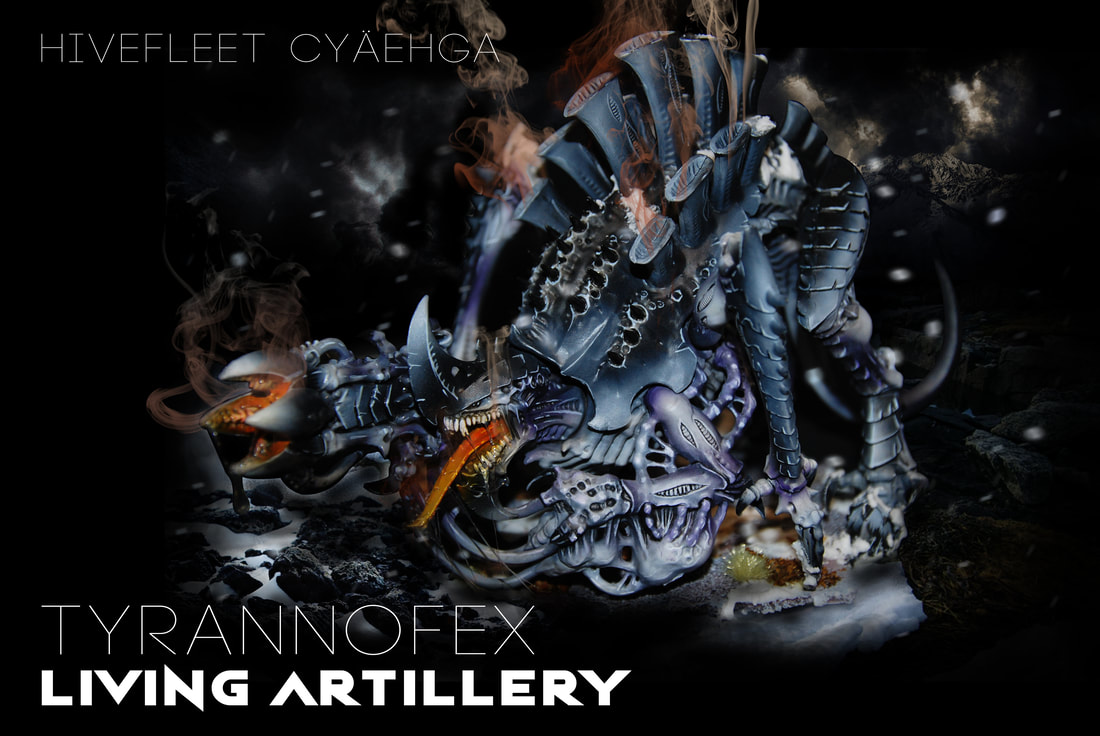 Hi, I'm back after many month, this time i'll be focused on my Tyranids army. I want to repaint all my old army. The first element is to have a speed painting process because i have a lot of Gaunts and it must be easier to paint them. So today, i will show you my first Tyrannofex. Say Hello big boy! It's a wonderfull piece, so easy to paint, really. Here the step by step... STEP 1 > a full black cover STEP 2 > Starting the zenithal process with white on all the flesh parts and the edges of the chitin. STEP 3 > Using the Hexed Lichen purple on the flesh parts. I used a lot of thinner to have a good spraying of the paint and avoid the little dots everywhere. STEP 4 > Here i used some black, white, and wolf grey to enlight some parts and give contrast for others, it's not a mechanic model so i don't want to have a strong contrast. On the bones i applied a thin layer of brown (Carne Barbarian i guess...).  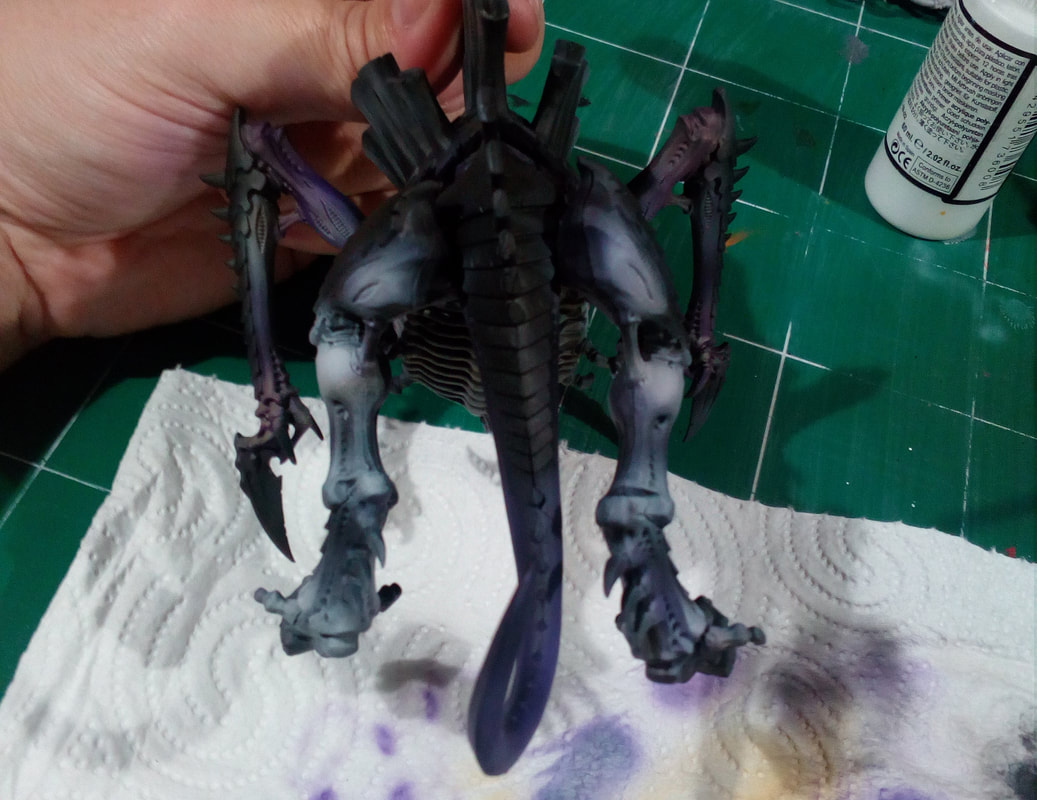 STEP 5 : Repeat the process on all the parts, i put some black on my purple for the contrast, it's like 1 for 1. STEP 6 : Now the lining is one of the most importants parts. Here you give life to your model, I simply used Wolf grey on the edge of the Chitin, for the flesh i used a combination of Grey wolf / Hexed Lichen, depending the level of light. Here the work can be really longer and better, but it's not that i want, i just want a Tabletop standard with a tiny Whaou effect. 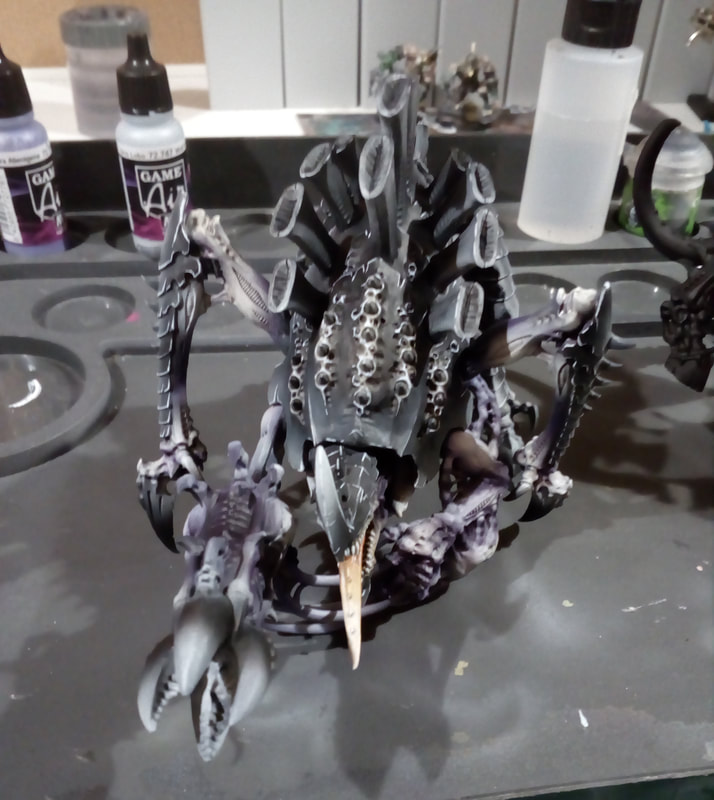  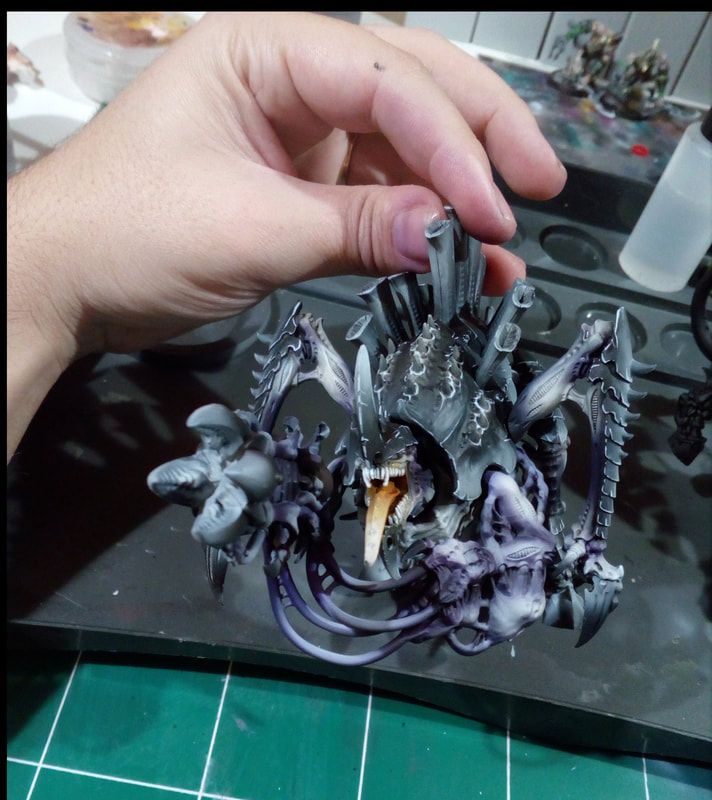 Hey Gorgeous!! Step 7 : Probably the most important. Here i used pure black with my brush do make a thin line under every details. This step give a good reading for your eyes and a good comprehension of your model. Step 8 : Nuln Oil! Do i need to tell more? Step 9 : I applied a glossy varnish on the tooths claws and horns (and obviously the tongue and the inside of Moothcannon). Step 10 : The Base, it's made with cork and some stuff like sand, leafs, and seeds. The snow is made with Pva Glue and Sodium Bicarbonat (buy it in a pharmacy it's pure, because the one sold for cooking had something in, and it turns yellow in the time). Step 11 : The Slime on the mooth and the cannon is made with a glue gun, it's a bit complicated but after many tries, it's looks good to me. Well it's done, enjoy the pictures. 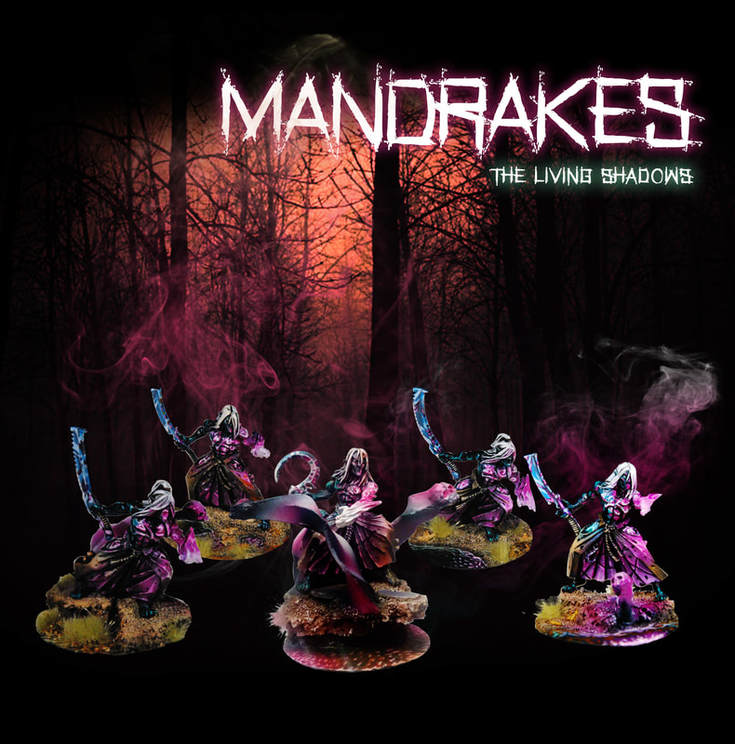 Fear the Mandrakes, they'll came for you in the dark of the night... Finally i'm done with them. I needed 3 months of work during the first step to the last brush touch, du to many personal reasons, a new work, new city, new appartment and obviously a new desk/workshop^^ Well it's the very first time that i can work for 3 month on one project, and i have to say it's not a bad thing... Explanation : When i started working on them i begun with the Nightfiend the one on the middle of the picture. It was long because i tried many colours with my airbrush, i took 3 days to finish this model and 2 other days for the base. After that i stopped and i learn many things on internet by watching other pieces from different artists. It was helpfull because when i start painting the four others, i understand the importance of a strong contrast between the lighting parts and the others, especially in the dress. And i work really faster, 2 days will be needed to achieve the four models and 2 others day for the bases (including the greenstuff work). And it's only because during three months i've assimilate a logic of procedure. In fact, one month was needed to the comprehension of the technics, but you can't always do what you want! Well now it's time to speak a bit about the painting! I used a combination of purple and emerald green colours. The skin is dark with a global black paint lighted with a blend of black and emerald from the vallejo range. The scarifications are painted in white in the depth and in squid pink around or emerald green. I used the pink to symbolize the power running throught the body of the mandrakes, emerging into their hands with pink-white flame, as you can see below.
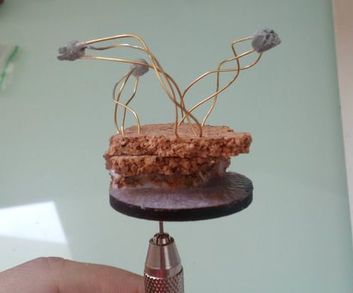
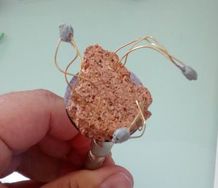
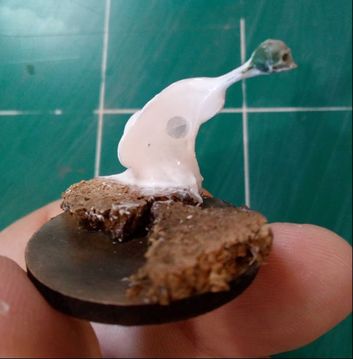
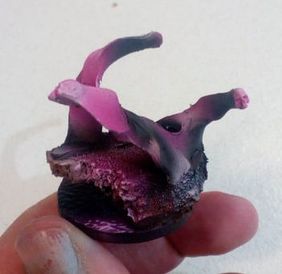
The clothes are paint with 2 differents colours. The upper parts are painted with brown colours using a mix of Dark fleshtone, Earth, Barbarian flesh and lighted with Dead Flesh. But at this point the main problem was to choose a new colour for the lower part of the clothes and i decided to painted it in purple, why? Because i already had 4 main colours (Purple for the flame/power, Black/emerald for the skin, brown for the main clothes and blue for the blade) and i didn't want to use a fifth, i think it would be hard to read the model. The blades are painted in blue tones, because in the lore, Mandrakes used Mirors Blades to stalk and decapitate their preys. that's the reason why i used blue here, to try to mimic the reflection of the Miror blades. It's not easy even after seeing many NMM works from different artists, i really need to practice. 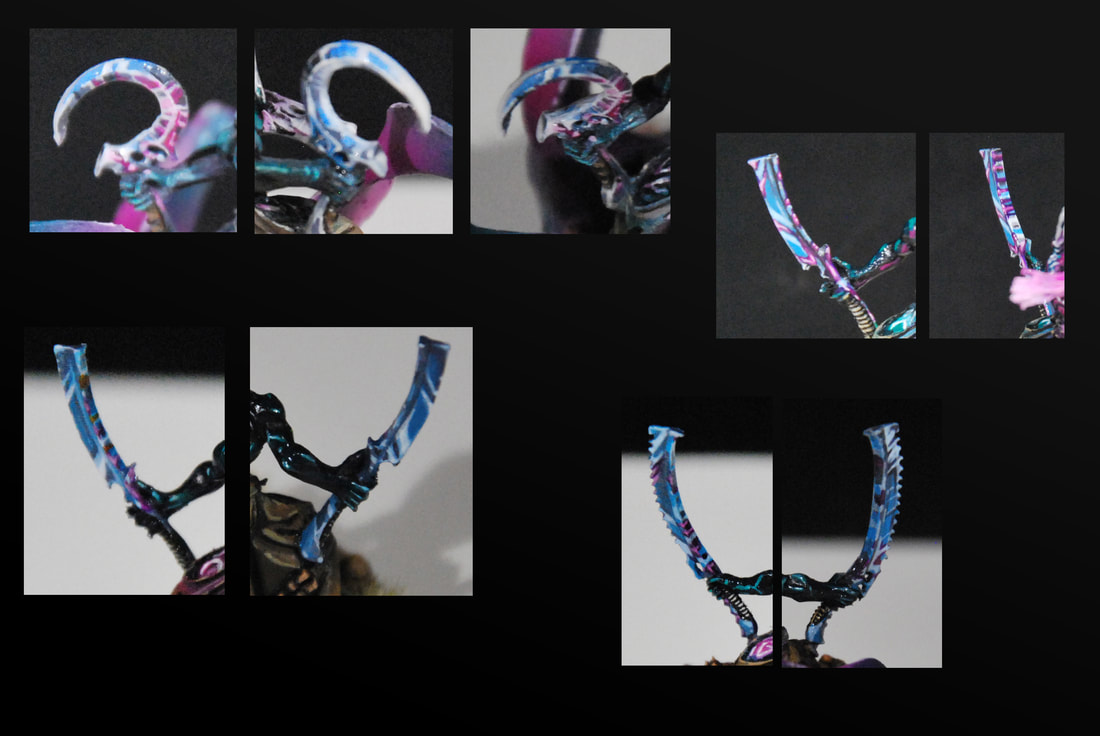 I think i need to use less blue and more greys... Well i have five Mandrakes remaining to practice and get better results! Now it's time to talk about contrast, i know my style is a bit different of what we can see, a sort of "drawing style" and with this session i discover the utility to use strong contrasts, The reading is better (i found) and the visual impact gets stronger. I used a blend of black with the main colour used on the working surface. The following picture of my Mandrakes on their cork supports illustrate it. 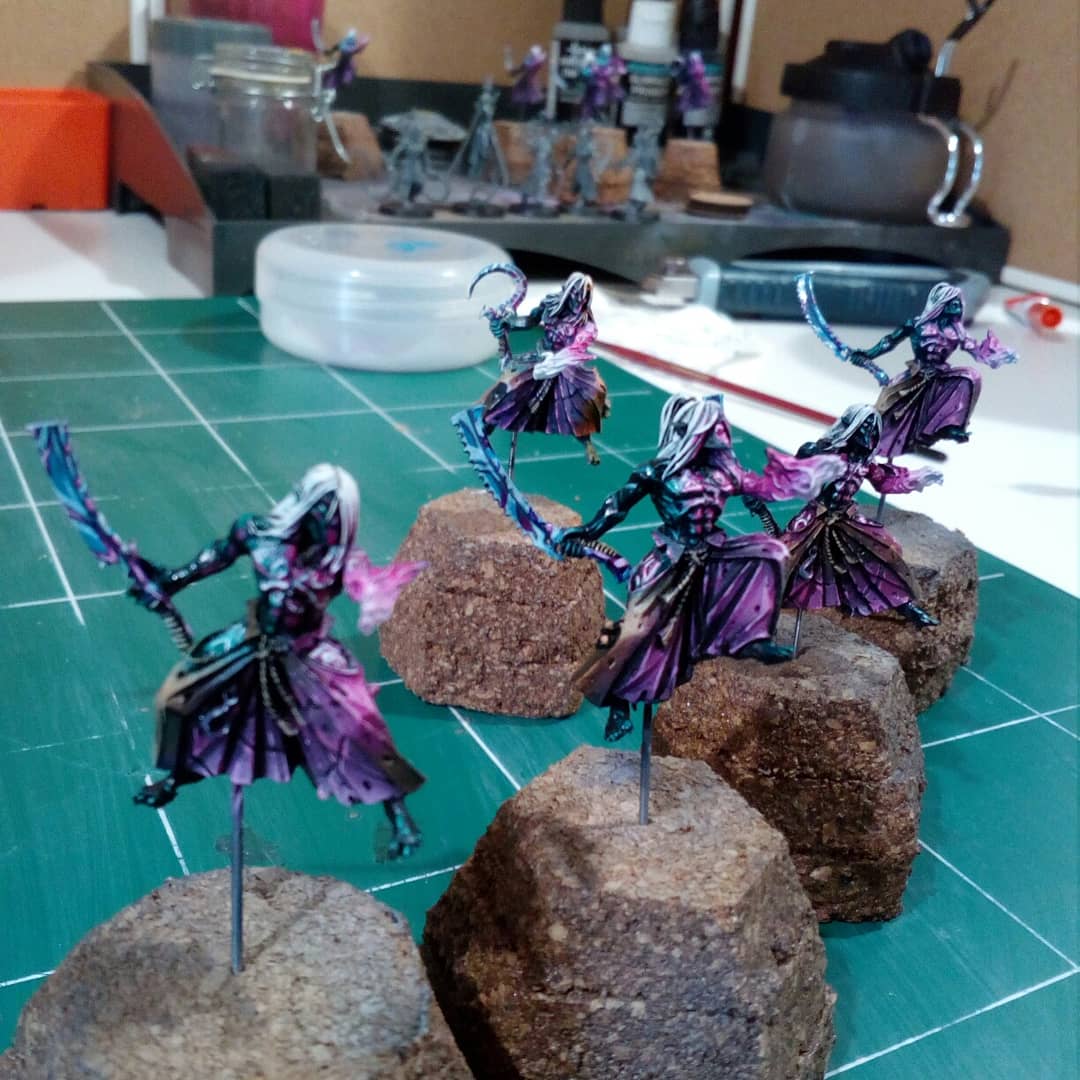 The last part, and an important part, is the scenery of the bases. On my first Mandrake, the Nightfiend, i have made a tiny diorama with 3 skulls floating in shadows around him. The process of creation is not really easy. In the first days i had no idea of how can i do it. And by luck, after reading many posts and websites, i found The Spider Serum in a tutorial video on Green Stuff World website. This video shows a spider web spreads with airbrush on plastic structures used as the skeleton of the web. And in the video it's relatively easy. I quickly order one, the specific cleaner sells with, to preserve my airbrush. After one week the 17ml/0.57oz bottle arrived and with it a lot of excitation! (i really hate to wait!!) So i decided to make the skeleton of the veil of shadow by using iron wire fixed in the skulls.
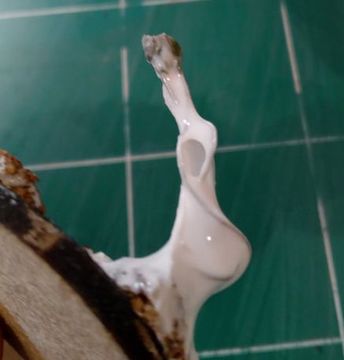
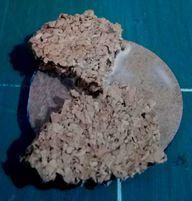
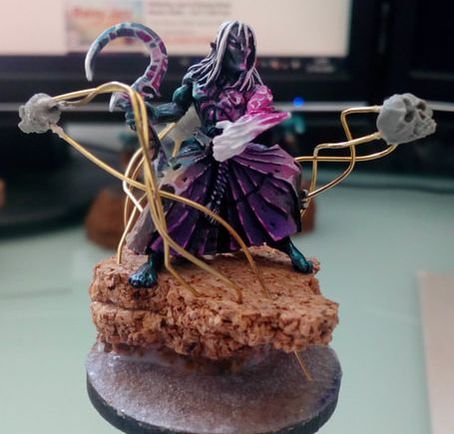 And after few little tries i started spraying the Spider Serum. If i would give a tip, it will be to clean all the area around and in the back of the piece you are going to make, because it's volatil, like really really volatil... 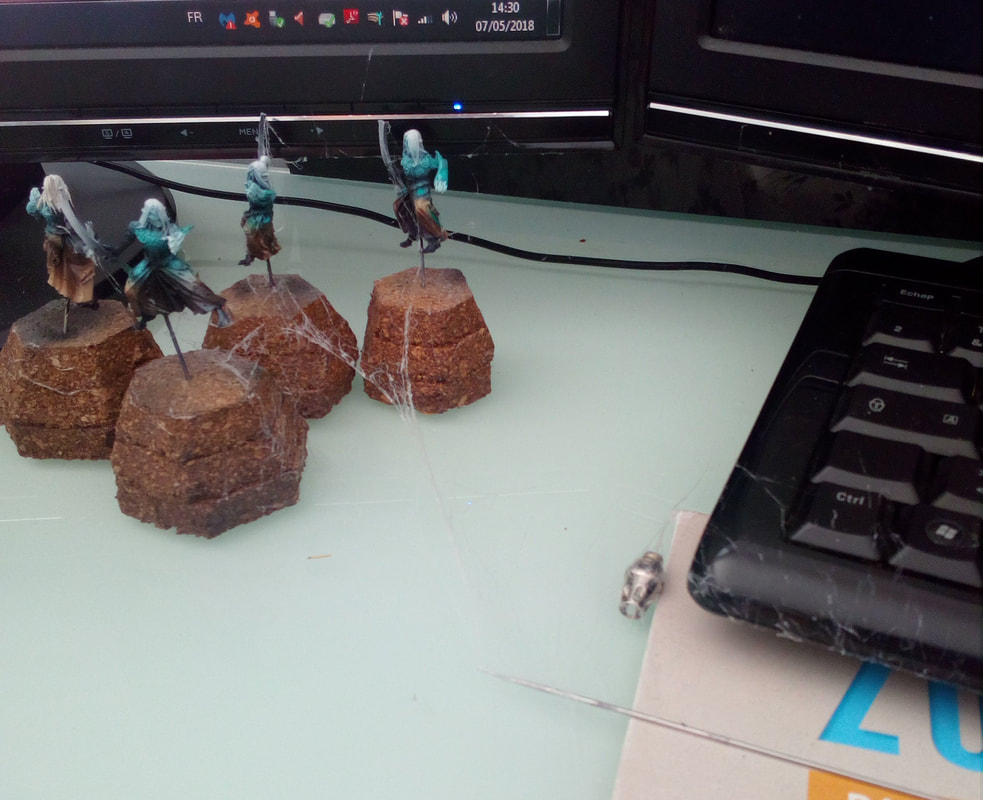 You can see what i'm talking about, and trust me after this picture, i noticed that the entire wall of this room was full of this sh*t. That was my temporary desk before i moved, and this week i used it again for an other mandrake scenery base. Even with all the precautions and with a special workshop enterly made for the Hobby, i found some lil residus in the room. So if you can do this outside it will be the best way. In the first moment i spread it at a close distance, it doesn't work, you have to be at aprox. 30cm / 12inch of your model, and it's a bit hard at the beginning. So after 2 or 3 tentatives you can see the result.
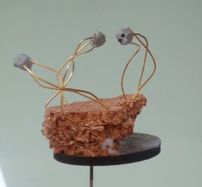
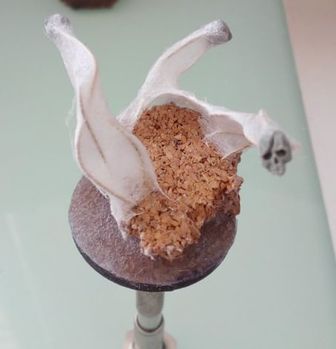
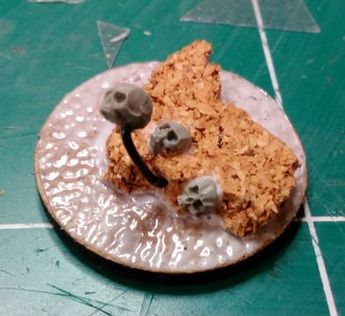
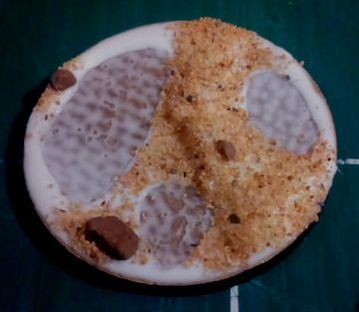
Keep in mind that it is very fragile. So to get the structure stronger i used a mix of water and PVA glue applied with a brush. Oh and you can remove all the tiny filaments with an humidified brush. I don't have picture for this one so i show you this step on a different base.
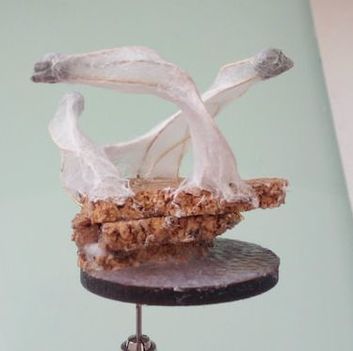
You can notice the 2 holes, it's when i drop the water/PVA mix on a too fragile space, an hole can occure. Don't panic just wait to get your PVA dry, and after with a brush apply some PVA to close the hole. After drying you can paint it!
Sorry for the low resolutions pictures, i take them with my phone with a very bad light. Here some other bases, i used cork, pieces of plastic water sheets and some resin skulls.
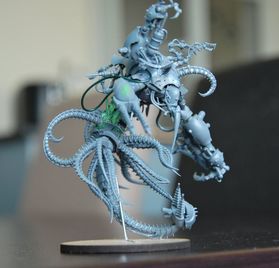
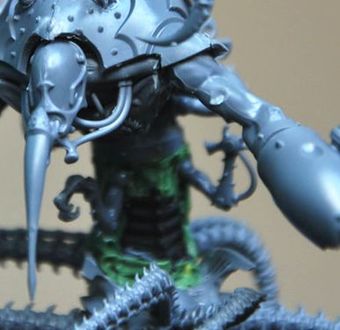
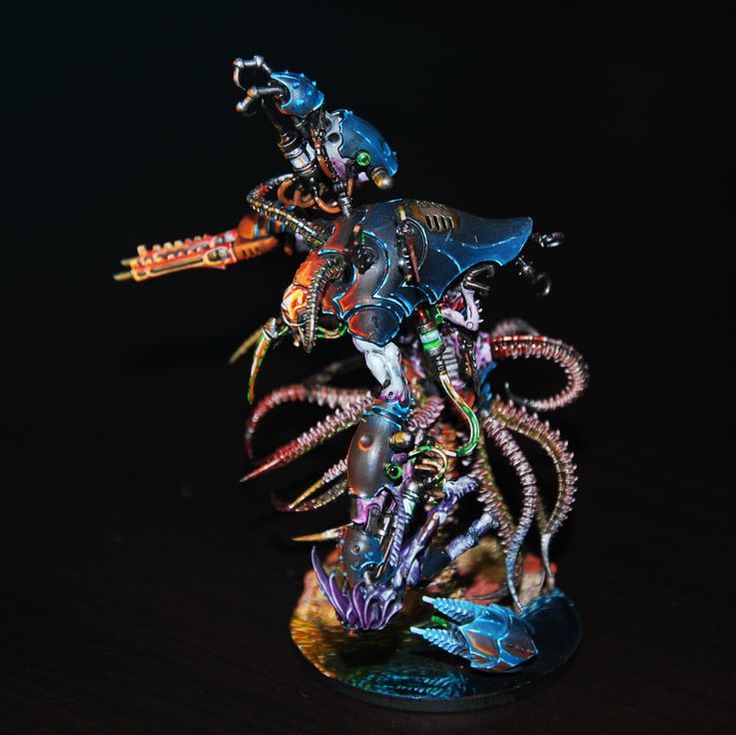
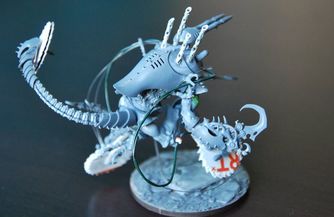
It's finally done. You can take a look at the five finished Mandrakes on the pictures below.  Well today i’ll show you my second Talos, The Collector. The first concept before starting any conversion was to create a kind of talos who will assists the Haemonculus on the battlefield. By taking samples on casualties or injecting every sort of poisons…
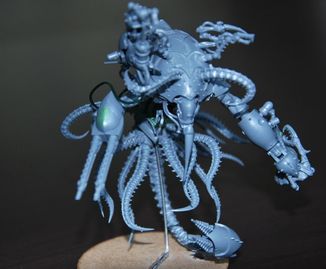
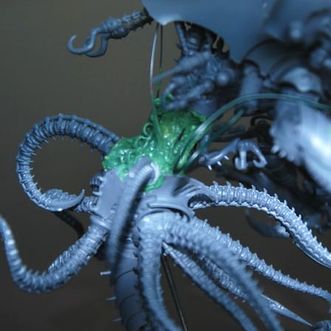
By the way I consider the many tentacles are a good mean to represent something unhealthy, scary, and to suggest that my Talos is floating slowly using them like antennas for scanning the environment by touching it. To do that I take many tentacles in the other Talos boxes, I used the lower slots on the model to clip them , and I put a sort of weapon on the end of the tail, the one who looks like a big tesla coil. It’s perfect to shock and paralyse the victims! 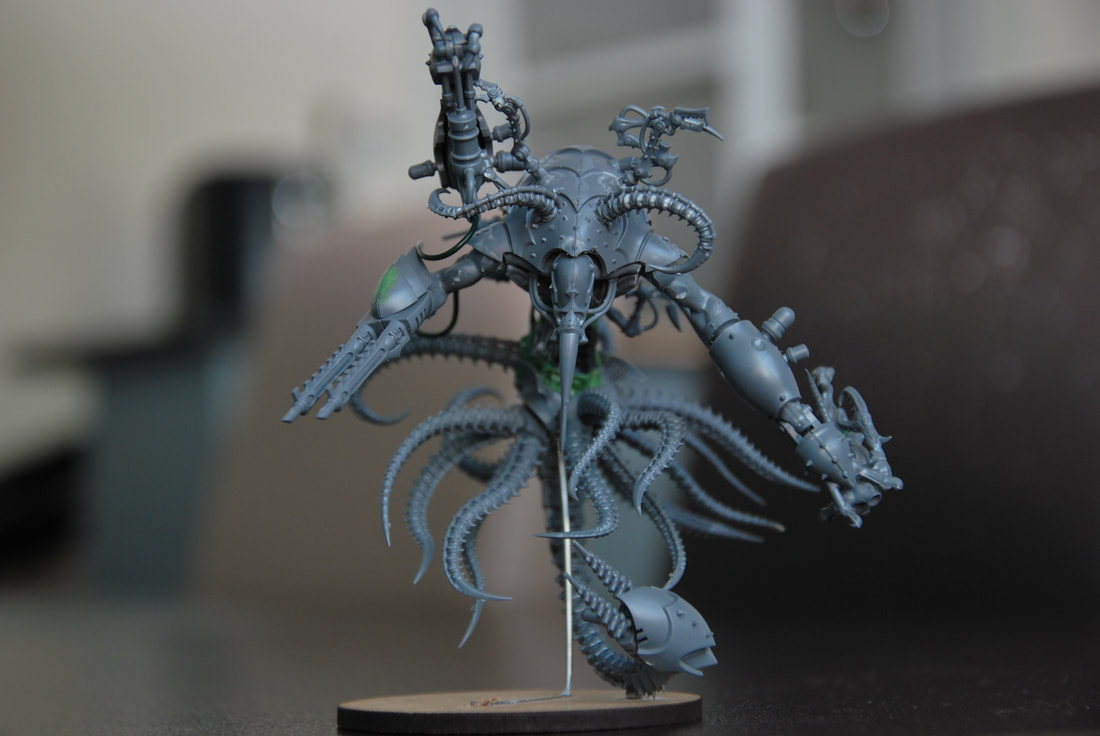 But the main concept is a massive monster dominant the battlefield, and the problem at this point, is that it will be difficult with the basic set to give him this style.
So I decided to sculpt an abdomen between the lower part with all the tentacles and the upper part with the body.
To sculpt it, I used a thoracic part of a Tyranid Ravener for the base, and some Green Stuff, I try to sculpt ribs and flesh and I add some tiny arms from the Talos Kit, and two tentacles.
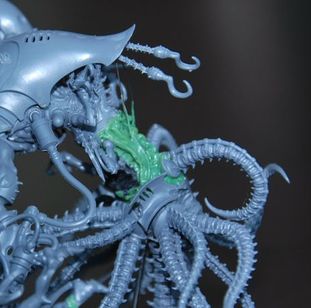
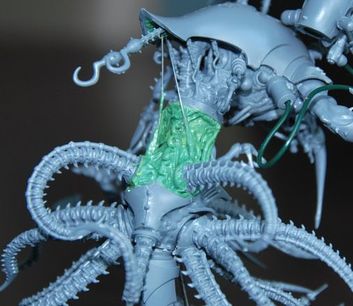
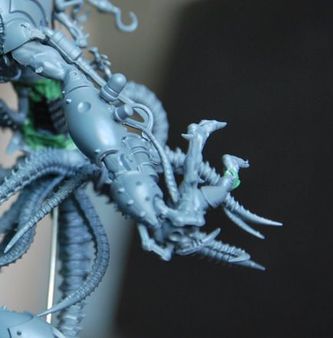
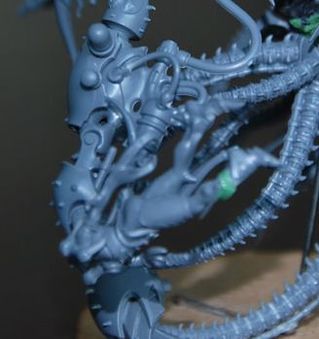
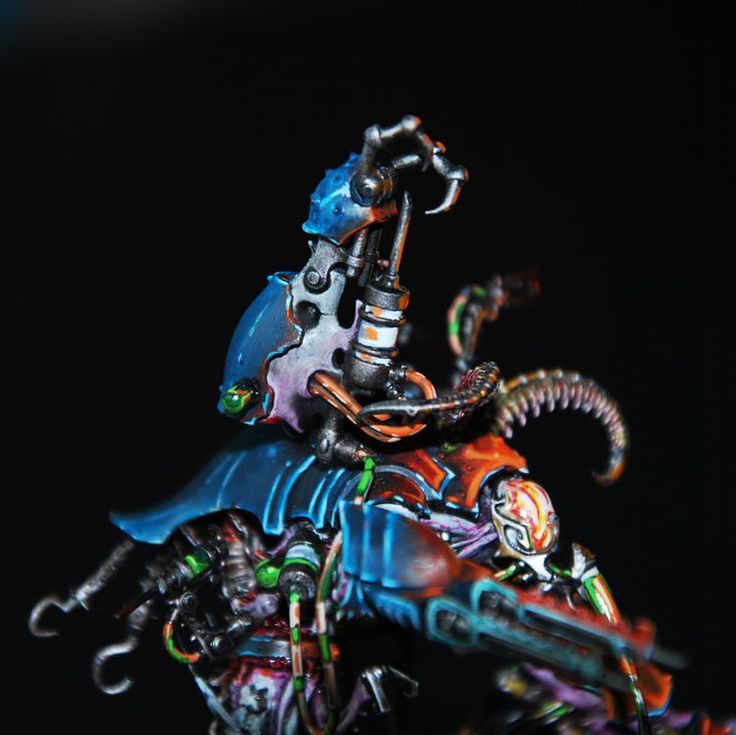
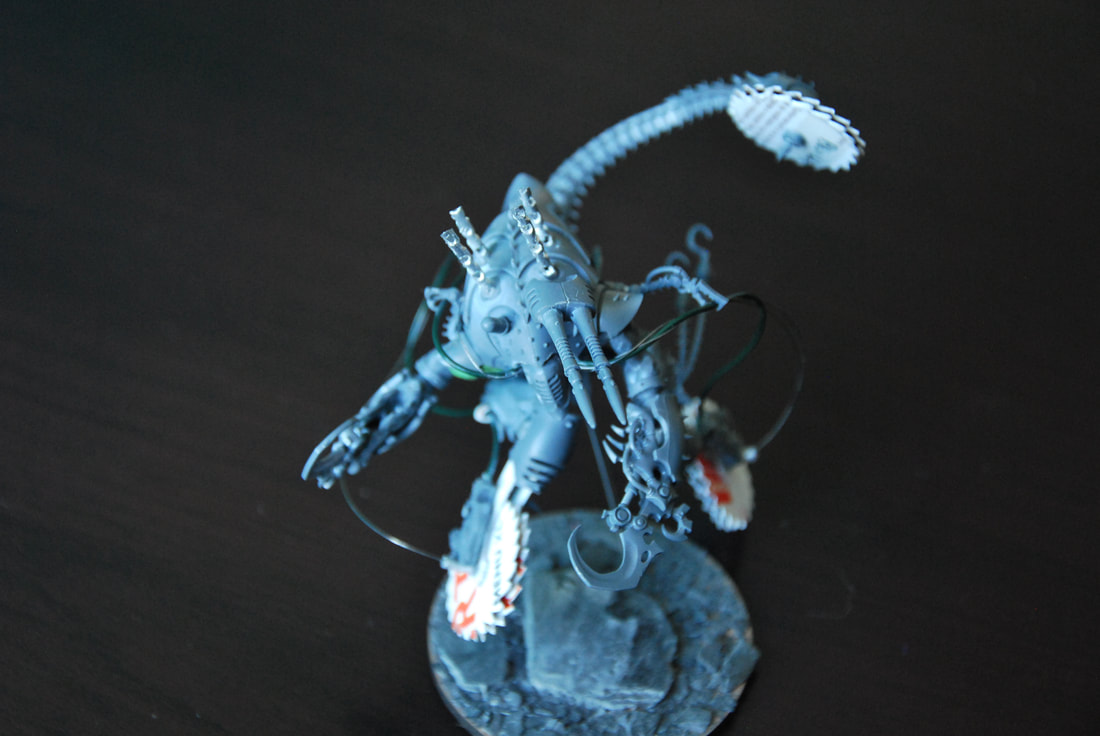
When I begun the upper part I knew I would him, grabbing a Slaanesh daemon in one of his hand injecting her many steroids. Because it’s very special in the fluff/Background of my army (maybe one day I’ll publish it but it’s very long to translate, so if someone want to help me, I take any contribution on it^^) 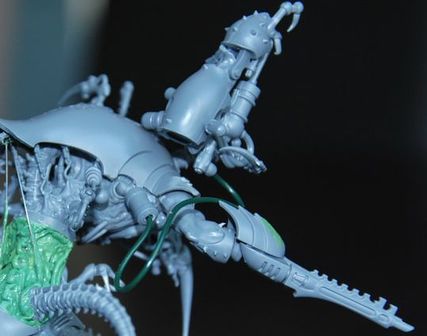 But for the other hand I would have to use the same arm, with the huge syringe, it will works perfectly for the style I would give him. The problem here was for the weapon, I did not want to use the same process like on my Butcher Talos, I did want something new. And it’s on this reflexion that the idea to a “third” arm came to me, like a sort of prosthesis. This suggest my Talos can change this arm on the battlefield to face different situations. 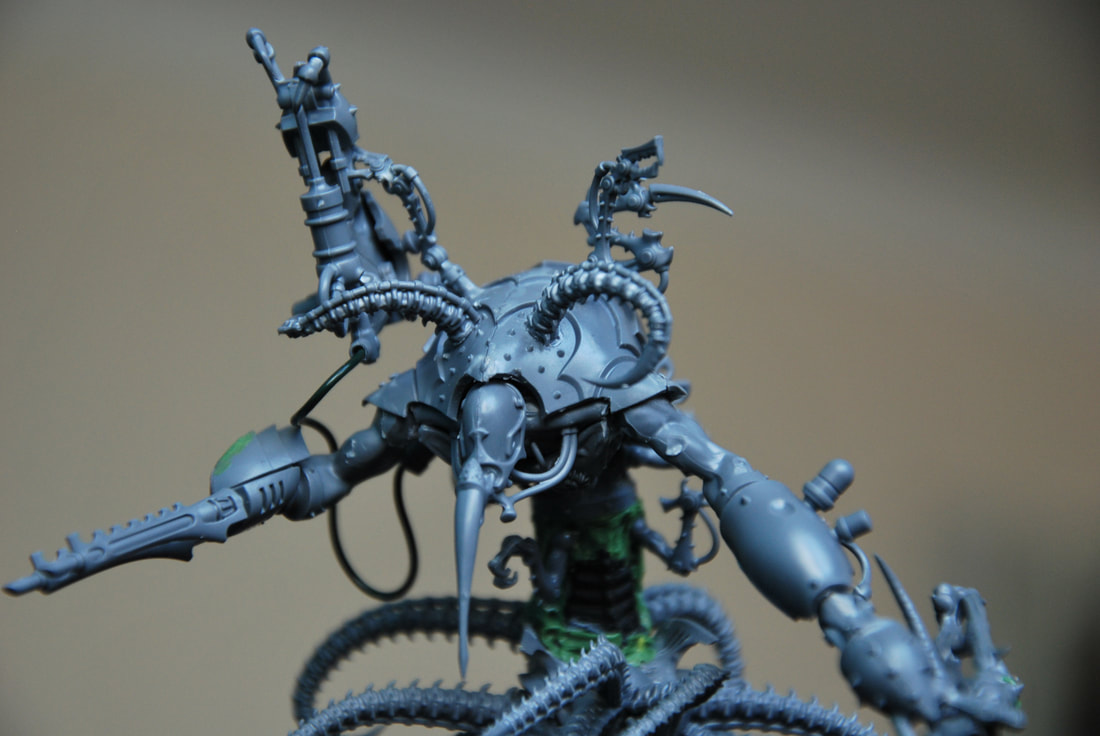 So I put many extensions on his shell like small tools, claws, pliers, that can hold and replace something. The final part on the model was to put another 2 tentacles over his head, working like antennas, and add a sort of cable between the body and the third arm on the shell. I used the Cronos head because I found the style perfect, a large mirror where the victims only looks their own faces before dying, and this long syringe sump in place of the mouth to suck all the vital fluids (or inject poison of course!). Honnestly it was a real pleasure to assemble it. I really like him. Let's talk about the paint now.
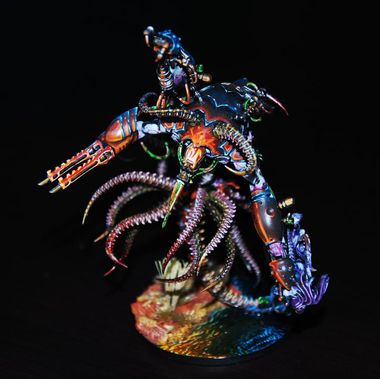
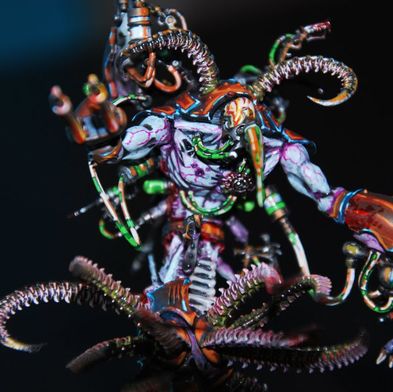
The painting was really long on this talos, I didn’t have airbrush at this period, so I did all with my brushes. Like the other pieces in my army the colours are still the same, for all the armour pieces I used a combination of Abaddon Black, Dark Reaper Grey, Sotek green (GW all) and on the edges Temple guard Blue with Ceramite White (GW both). The next part is still the same, I check all the surfaces where the light of the twilight can reflects on the armor and I painting it with Doombull Brown lighted with Blood Red then Troll slayer orange and finally adding a bit of Ceramite White (GW all).
The flesh is not well executed, and it’s a really annoying for me, because today with my airbrush I know I can do much way better. Maybe one day I will add some strong contrasts in the lower parts of the flesh but it’s absolutely not a priority for the moment. I painted transparent pipes for the very first times, always with this graphic style that is my signature^^ I wanna suggest a transparent reflecting surface with many creepy liquids running through them. Maybe the green is a bit too much, but I found it gives him a interesting contrast in the colours.
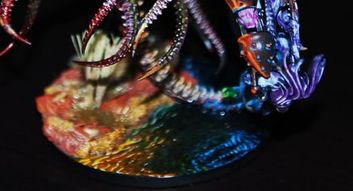
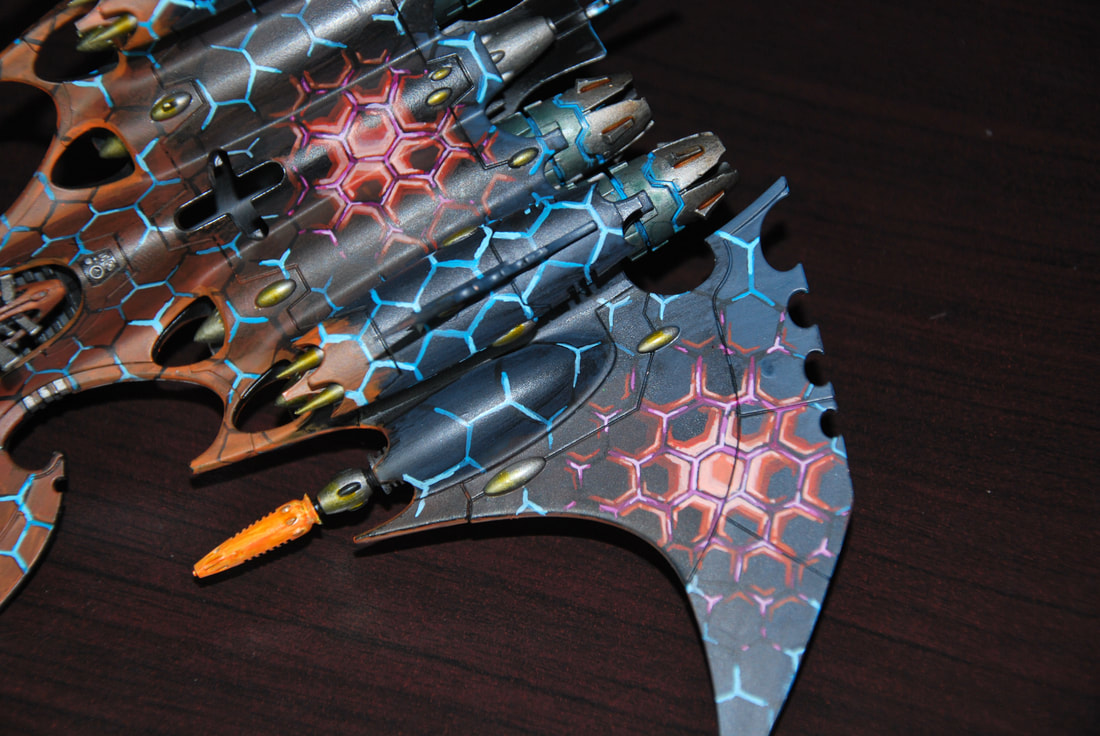
For the base I used the same materials like for my first Talos, water plastic sheet, leafs, slate, sand, herbal tufts and brown pigments. I painted him in 2016. Sk4r 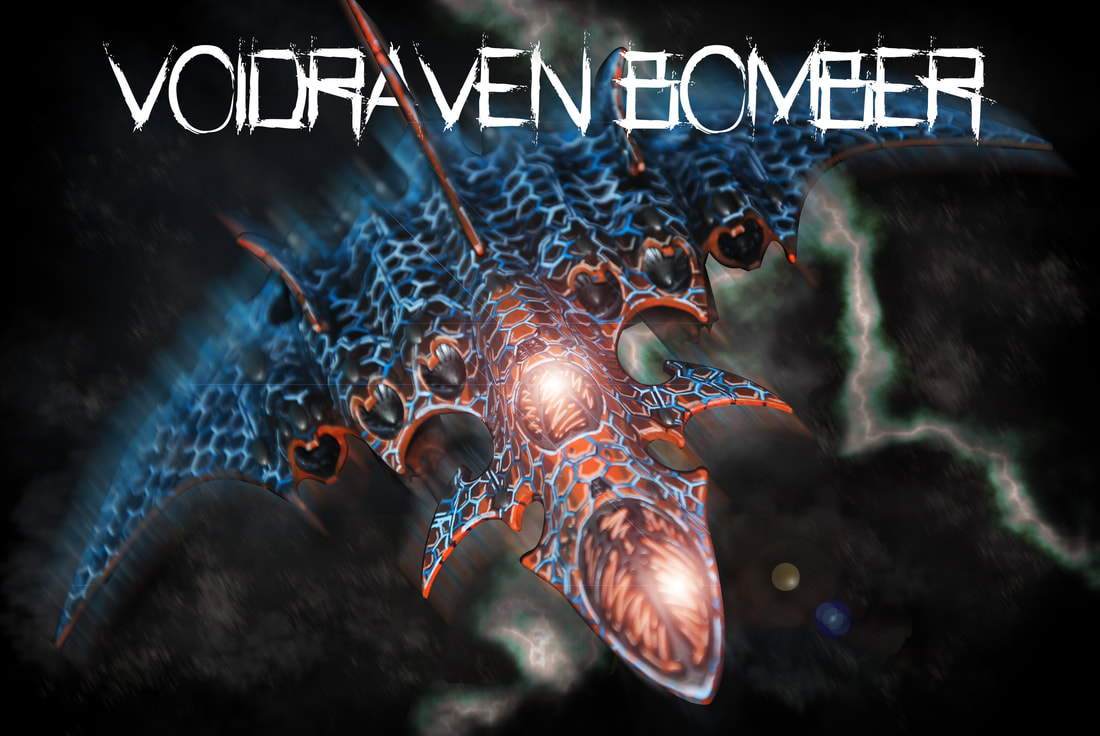 The Voidraven bomber, an amazing piece. Every shape is perfectly designed, it's the true spirit of a drukhari kabal. I painted it in 2015. I did not do any conversion on it. Not even a kit bash. The painting is pretty easy for the first part, I have done the base with Dark reaper gray (GW) blend with Black Abaddon (GW) then, I put Sotek green (GW) in the Dark Reaper and I lighted the rear of the shapes , I continue with Temple guard blue (GW) always blended with the last color, and finally a mix between Temple guard blue and Ceramite white (GW). For the front face, I used Doombull brown (GW) diluted with water for the base and another layer of less diluted Doombull brown. After this part I started the first lightening with blending Troll slayer orange to the Doombull brown then another thin layer of water diluted to the Troll slayer orange. 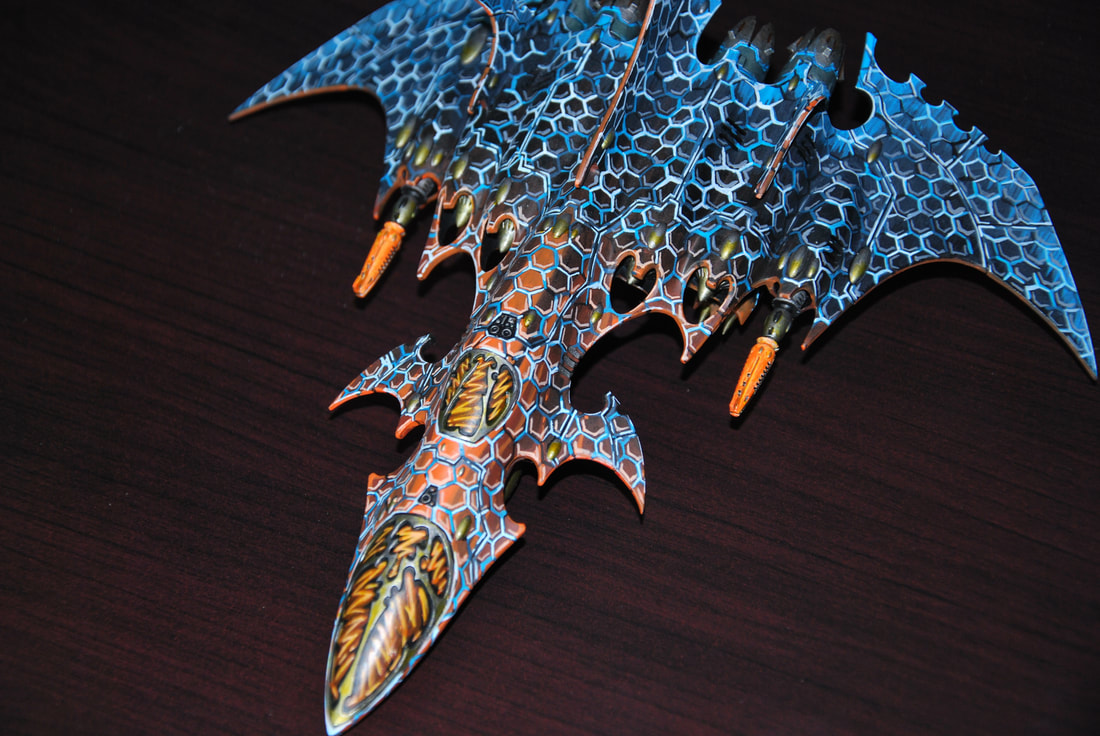 Now the critical part ... I completely do in free hand the hexagonal grid over the hull... I used everytime on all my vehicles the same process. I started with the complete draw in abaddon black. This allows me to made some mistakes for the sizes or the symmetry and fix them using the same underneath colors. When it’s ok I do the same thing with the Sotek green. Then only on a random part of the grid I put the Temple Guard blue to finish with a mix of Temple guard blue and Ceramite white. In this way I can create an impression of energy running all over the hull. 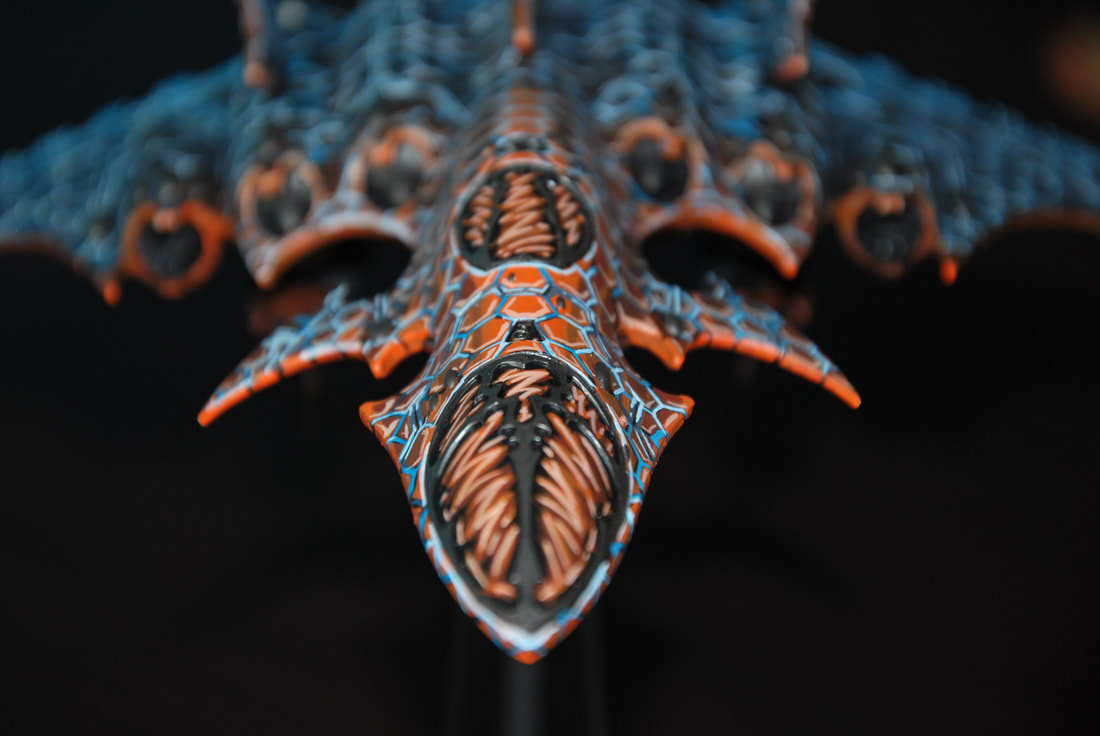 The glasses for the two cockpits are specially painted with a graphic aggressive style. It's not realistic but the effect works well for me.
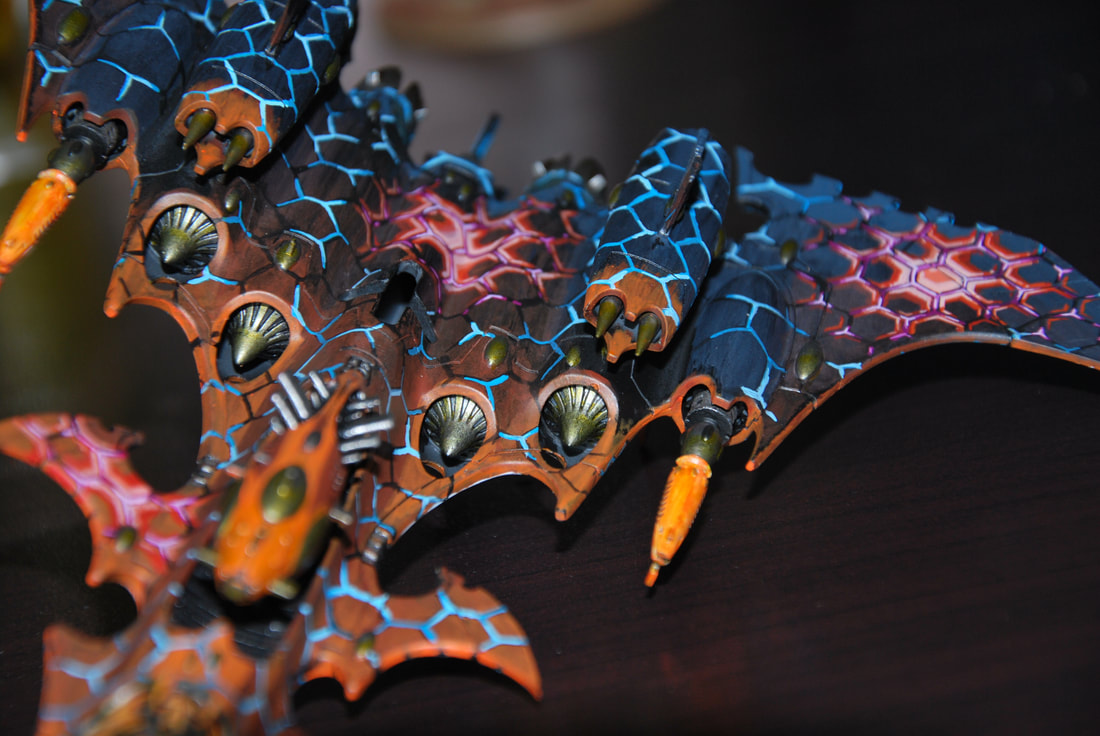
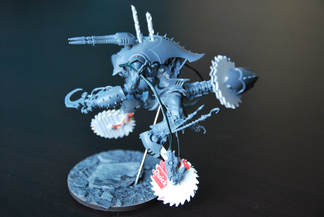
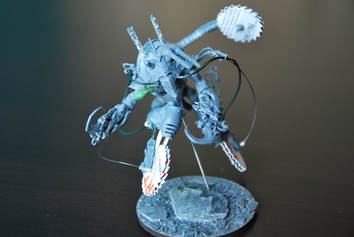
 I add some blasts absorbed by the shield on the second face coming from the ground. It's a funny part when you spend a lot of time with the grid. I used Warlock purple (GW) on the grid of the shield and for the lightned part I put some Ceramic white to the purple. The inner blasting parts of the shield, is made with Doombull brown, Blood Red (GW), and Ceramite white. 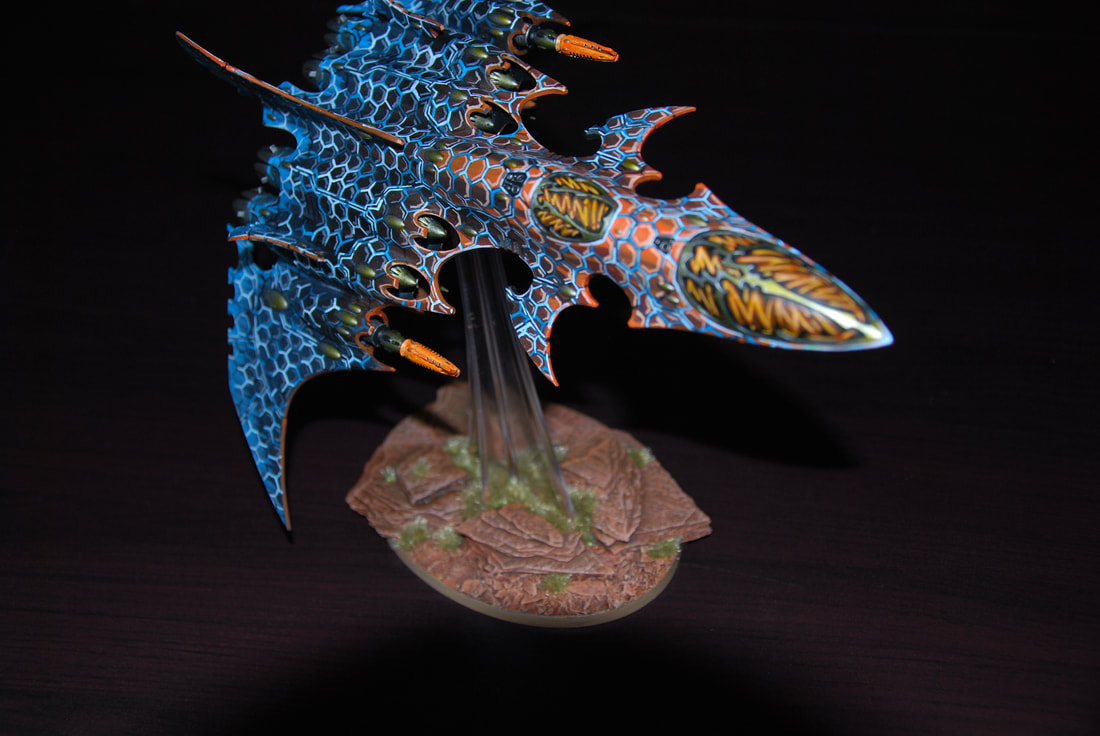 The overall look of the Voidraven is ok but it's really far of what I can do now. So I guess I'll never repaint it again, maybe one day I'll buy a second one and paint it with my airbrush, for cleaner transitions and many other things. To finish the base is made with slate and herbal tufts. 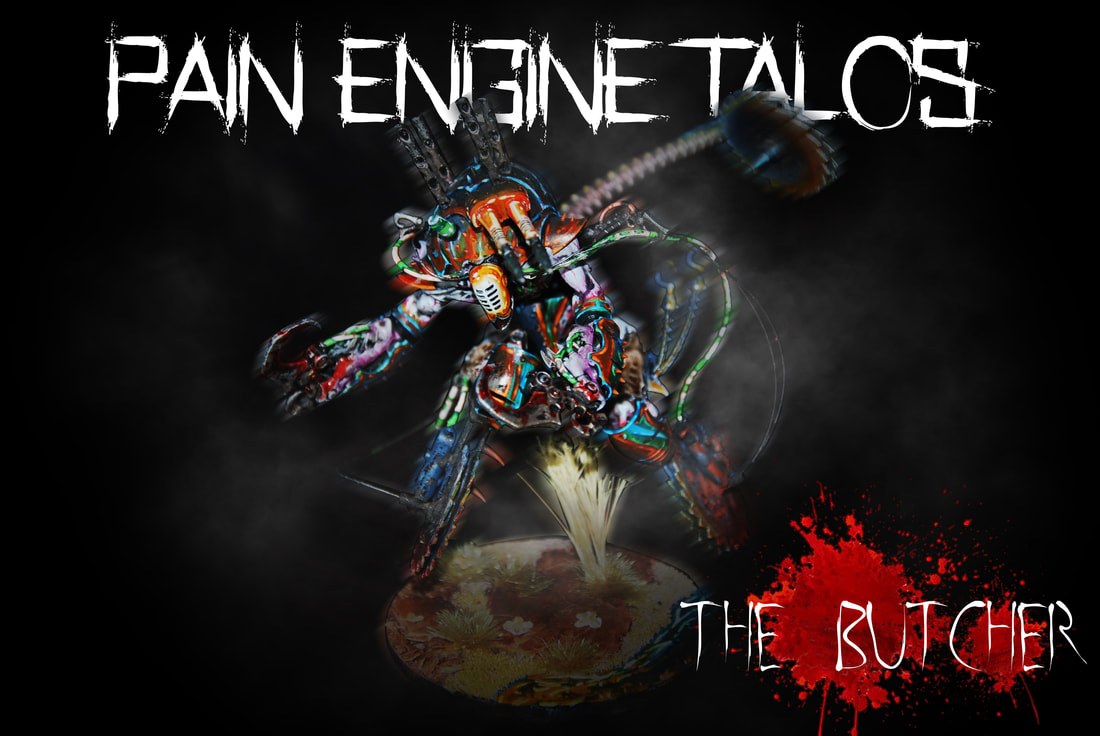 Let me introduce the first Talos of my Haemonculus Coven : The Butcher. It's the first model i made for the Black Circle Coven. I had a strong idea in my mind before starting kit bashing it. A kind of monster with circular saws floating over the battlefield, searching for some victims to cut into pieces.
I used a kit of Talos/Cronos for the base and in place of the tentacles in the lower part of the model, i put Carnifexs' Monstrous claws that i cut just before the base of the claws. And for the engines on the circular saws, it's the rear part of a Mounted Desintegrator Canon on the Raiders. The shapes for the saws are directly cut into plastic card, and the wires are metalic cables that you can buy in tools stores. Naturally i used 2 hooks for the uper parts, because they looks so scary, the very Haemonculus Coven style. They are perfects. It's a real pleasure to convert a talos, the Drukhari range is plenty of bits and they all goes together you can mixes every parts on every models. It's truly awsome. I didn't use the top elements, i have prefer put some perforate rods to symbolise four old exhausts. They give it an impression of an inexorable living machine fuelled by a hot and dark energy running throught his veins and pipes. Finally i decided to place the double heat lances in an asymetric position, just over his head. I made this choice to equilibrate the global look of the model between the tail, the legs and the hooks. When you look him in the front you can see a sort of triangular shape, the heat lances don't breaks the composition, it's important for the global comprehension even if the models must looks torturate.
After that part, i have start the painting. I only used brushes on it. To respect the main theme of my army i've put oranges colours in the front face to illustrate twilight. I know my style is very graphic, i can't explain why, it's just what i feel and what a want. Honnestly I don't know if i can make realistic painting, i never really try it, and when i try it's stronger than me! Well i have to asume my style i guess! And you know what? i'm ok with that^^. The last part is the base. You know i'm the kind of guy who can works 20 or 30 hours on a models (converting and painting) and when i have to finish with the base i can completely miss it because i'm tired to work on this project. So they never looks like i want! I think i need to be less impatient and be okay with the fact that my project can be made on fews days or weeks and not in one shot on 2 days max. I have to delay the bases and work on them only when i'm ready. For the materials on the base, i used Slate, Herbal tufts, and tiny leafs. For the water it's a special designed transparent plastic sheet. You can find it on the Green Stuff World website, and i guess on every good hobby's website. |